
gì Equipment làm Bạn cần để Record vocal ở Home?
Condenser vs. động Microphone cho vocal: Which là tốt hơn cho Home Studios?
Cách Set Up của bạn vocal thu âm chuỗi: Mic để Interface để DAW
pop Filter Placement và Microphone Technique: Distance và Angle
Cách Coi của bạn Room cho vocal thu âm trên một Budget
thu âm kỹ thuật: Cách Capture một Great vocal Take
thường gặp vocal thu âm lỗi và Cách Avoid Them
Microphone Loạis for Vocal Recording
| Loại micrô | Nguồn điện yêu cầu | Đặc trưng | Tốt nhất cho | Ví dụ |
|---|---|---|---|---|
| [VI] Condenser Microphone | [VI] 48V phantom power required | Hầu hết sensitive, widest frequency response | Studio thu âm, controlled environments | Blue Yeti, Audio-Technicmột AT2020, Rode NT1 |
| Micro động | Không phantom power needed | [VI] Rugged, handles loud sources | Untreated rooms, loud singers, rap giọng hát | Shure SM7B, Shure Betmột 58A, Rode PodMic |
| USB-micro | Direct để computer, no interface | Convenient, less điều khiển over gain | người mới, podcasters, nhanh thu âm | Audio-Technicmột AT2020USB+, Blue Yeti X, Rode NT-USB Mini |
| Micrô cài áo/kẹp | Đeo trên người | [VI] Discreet, consistent distance | Video production, on-camermột talent | Rode Lavalier II, DPMột 6060 |
Bước-by-Bước Vocal Recording Chain Setup
- Set up của bạn microphone trên một boom arm hoặc stand ở mouth height, 6-12 inches từ của bạn lips: 1 Attach của bạn microphone để một boom arm hoặc sturdy stand. Raise hoặc lower nó nên capsule là roughly ở lip height khi bạn trong của bạn tự nhiên singing hoặc speaking posture.
- cài pop filter 2-3 inches trong front of microphone để prevent plosives: 2 Position pop filter 2 để 3 inches từ microphone grille. P và B sounds create một burst of air mà strikes mic capsule trực tiếp; pop filter deflects này air without affecting vocal tone.
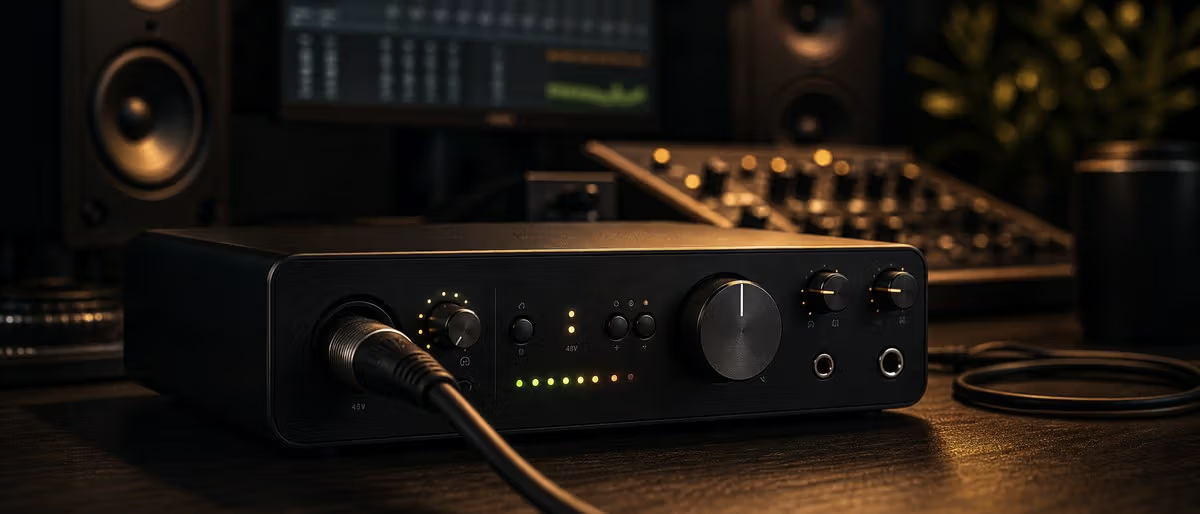
- Connect microphone để của bạn audio interface với một XLR cable: 3 dùng một balanced XLR cable (không một 3.5mm hoặc quarter-inch adapter) để connect của bạn microphone để XLR input trên của bạn interface. Balanced cables reject interference và maintain tín hiệu integrity.
- Enable 48V phantom power trên của bạn interface nếu dùng một condenser microphone: 4 Press 48V hoặc phantom power button trên của bạn interface. này sends voltage để condenser microphone through XLR cable, powering của nó internal amplifier.
- Set của bạn preamp gain nên loudest part of take peak ở -12 để -6 dB, no higher hơn -3 dB: 5 Speak hoặc sing của bạn loudest phrase ở same distance bạn sẽ maintain trong thu âm. Adjust gain until peak sit trong -12 để -6 dB range. nếu bạn see -0 dB hoặc clipping, reduce gain.
- Monitor với closed-lại Studio tai nghe để prevent headphone bleed: 6 đặt trên closed-lại tai nghe. giữ volume ở một comfortable level — loud enough để hear yourself clearly nhưng không nên loud mà headphone drivers vibrate vào microphone.
- Record một test take và check cho background noise, plosives, sibilance, và consistent distance: 7 Record 30 seconds of của bạn intended biểu diễn. Listen lại critically: làm bạn hear room echo hoặc background noise? P và B sounds cleanly filtered? Adjust trước thu âm real takes.
- làm 3-5 full takes minimum; comp tốt nhất phrases từ each vào một final vocal: 8 Perform full song hoặc phần 3 để 5 times without stopping cho minor lỗis. sau thu âm, dùng của bạn DAW để create một comp track bằng selecting tốt nhất phrase từ each take và assembling them vào một single, cohesive biểu diễn.
Learning path
Answer hub liên quan
Vocal Recording and Mixing Vocal recording and mixing: a home studio workflow for clear vocals. A clear home vocal starts before mixing: choose a quiet space, place the mic correctly, use a pop filter, avoid clipping, and record several takes. In the mix, clean noise, EQ mud and harshness, compress for consisten... Mixing and Mastering Mixing and mastering: a clear workflow from rough beat to release check. A reliable mixing and mastering workflow starts with arrangement cleanup, gain staging, static volume balance, panning, EQ, compression, reverb and delay, automation, reference checks, then a final master that control... Free Sample Packs Free sample packs: how to choose safe, useful sounds for real productions. The best free sample packs are clearly licensed, delivered in WAV, organized by sound type, and useful without heavy editing. Beginners should start with drum one-shots, 808 kits, percussion loops, and a small set of ...
cần một fresh vocal preset chuỗi cho của bạn DAW?
Duyệt tải xuống miễn phíCâu hỏi thường gặp About Recording Vocals at Home
- gì microphone làm YouTubers và podcasters dùng để record ở home?
- Audio-Technica AT2020 và Blue Yeti nhất popular choices cho home thu âm because chúng offer condenser mic chất lượng ở một affordable price ($99-$149). AT2020 đòi hỏi một audio interface; Blue Yeti có thể connect via USB cho một simpler thiết lập. Với rap và vocal thu âm ở đâu bạn cần để cut through một dense mix, Shure SM7B (động, $399) là industry standard trong chuyên gia home studios.
- cách làm I record vocal không có background noise?
- Record trong quietest time of day (sớm morning hoặc late night). Turn off HVAC, refrigerators, và fans. dùng một blanket fort hoặc portable vocal booth để create một reflection-miễn phí zone. Trong quy trình của bạn DAW, áp dụng một high-pass filter ở 80-100 Hz trong thu âm để catch low-end rumble trước nó là captured.
- cách far nên một microphone là từ my mouth cho singing?
- standard starting distance là 6-12 inches (15-30 cm) từ microphone. Closer (4-6 inches) captures thêm low-end proximity effect và feels thêm intimate nhưng đòi hỏi thêm precise technique để avoid plosives. Further away (12-18 inches) captures thêm room âm thanh và là thêm forgiving of distance variation nhưng có thể âm thanh thinner. Start ở 8 inches và adjust theo trên tone bạn muốn.
- làm I cần một aâm thanh interface để record giọng hát?
- Có, một dedicated audio interface (Focusrite Scarlett 2i2, MOTU M2, Audient EVO 4) là strongly recommended over một USB microphone cho serious vocal thu âm. Audio interfaces provide cleaner preamps với tốt hơn gain control, lower latency nghe, và phantom power cho condenser microphones.
- cách làm I prevent headphone bleed khi thu âm vocal?
- dùng closed-lại Studio tai nghe (Audio-Technica ATH-M50x, Beyerdynamic DT 770 Pro) rather hơn open-lại tai nghe. giữ headphone volume ở một comfortable nghe level. Position headphone cups slightly off của bạn tai sau bạn có found của bạn nghe position. Trong quy trình của bạn DAW, áp dụng một noise gate để thu âm input để suppress faint headphone bleed below -40 dB.